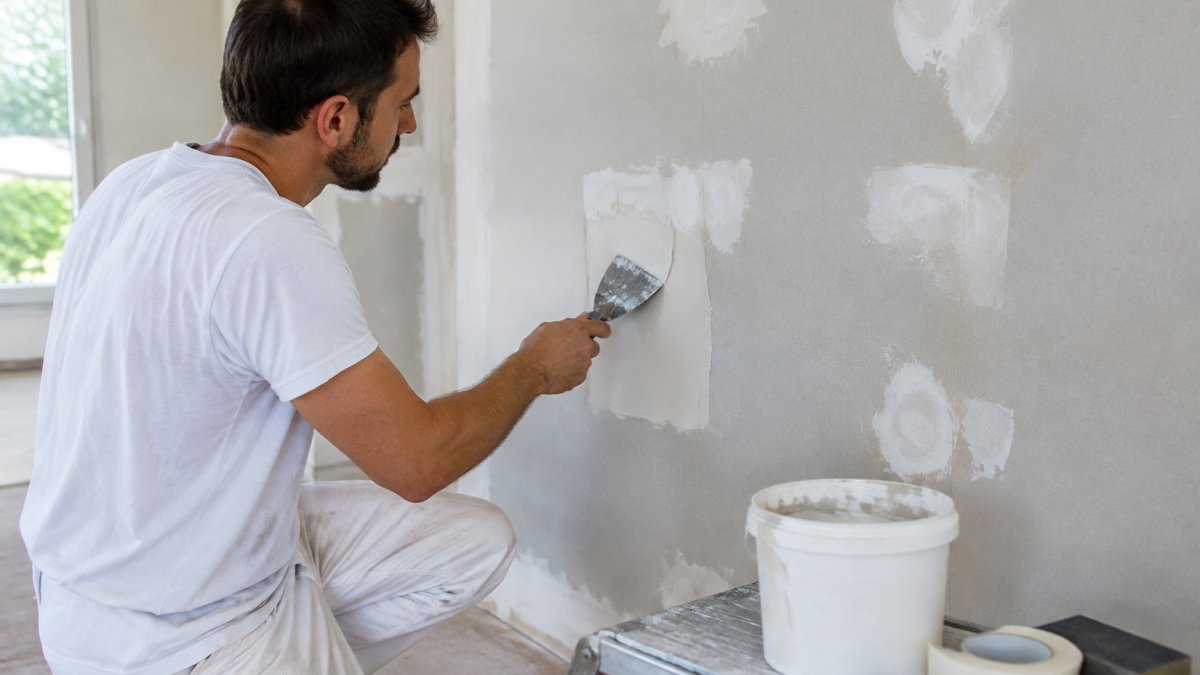
 How-to
How to Repair Drywall: Holes, Cracks and Finishing
Quick Summary
Drywall repair starts with measuring the damage and finding its cause. Dents and holes under 4 inches can be fixed with joint compound or a mesh patch, while holes over 6 inches need a replacement section. Always fix any moisture source before patching, then finish with thin, widening coats of compound.
- Measure damage first: under 1 inch is a dent, 1 to 4 inches a small hole, over 6 inches needs replacement.
- Fix the moisture source before patching, since water is the most common cause of drywall failure.
- Use three coats of joint compound, each about 2 inches wider than the last.
- Sand with 120-grit paper and prime with drywall primer before painting to avoid flashing.
- Test for lead paint in homes built before 1978 before sanding or cutting.
Table of Contents
- Assessing Drywall Damage and Choosing a Repair Method
- Diagnosing Moisture Sources Before You Patch
- Tools, Materials and a Drywall Repair Kit Checklist
- Safety Checks: Lead Paint, Asbestos and Mold
- Repairing Small Holes, Dents and Cracks Step by Step
- How to Fix a Hole in Drywall Bigger Than 6 Inches
- How to Patch a Large Hole in Drywall With Mesh
- Mudding, Sanding and Priming: Finishing for a Paint-Ready Wall
- Scheduling Your Repair: Next Steps With Dorris Construction Management
- Frequently Asked Questions
Assessing Drywall Damage and Choosing a Repair Method
Last Updated: November 12, 2026
Drywall damage often looks worse than it is. A small hole or hairline crack can usually be fixed in an afternoon with basic supplies.
Drywall repair is the process of patching holes, cracks, and dents so the wall looks smooth and paint-ready.
Start by measuring the damage. Use this rough guide to choose a method:
- Dents and dings: Less than 1 inch. Fill with joint compound.
- Small holes: 1 to 4 inches. Use a self-adhesive mesh patch.
- Medium holes: 4 to 6 inches. Cut out the damage and add a backing piece.
Check the edges of the damage.
Watch out: Do not patch a crack that keeps coming back.
The table below summarises the repair method to use based on the size of the damage.
| Damage size | Method | Note |
|---|---|---|
| Less than 1 inch | Dents and dings: fill with joint compound | Basic fill |
| 1 to 4 inches | Small holes: self-adhesive mesh patch | Quick fix |
| 4 to 6 inches | Medium holes: cut out and add backing piece | Needs backing |
| Over 6 inches | Large holes: replace section with new drywall | Full replacement |
Diagnosing Moisture Sources Before You Patch
Water is the most common cause of drywall failure and the one most often missed.
Check for these warning signs:
- Yellow or brown rings on the ceiling or wall
- Paint that bubbles, peels, or flakes
- A soft, spongy feel when you press the surface
Common sources include leaking pipes, roof leaks, window flashing failures, and humidity build-up in bathrooms and laundry rooms.
If the drywall is soft or the paper face has separated from the gypsum core, replace the section, patching over wet or crumbling board will not hold.
Tools, Materials and a Drywall Repair Kit Checklist
Most repairs need only a few basic supplies. Having everything ready before you start keeps the job moving.
Basic drywall repair kit checklist:
- Utility knife and drywall saw
- 6-inch and 10-inch joint knives
- Mesh or paper joint tape
Pre-mixed compound is easier for beginners. Powder compound sets faster but requires careful mixing. For current pricing, check your local hardware store or request a quote from Dorris Construction Management.
Safety Checks: Lead Paint, Asbestos and Mold
Older homes carry risks that new repairs can stir up. Check these before any sanding or cutting.
- Lead paint: Homes built before 1978 may have lead-based paint (the EPA). The U.S. Environmental Protection Agency (EPA) sets rules for safe renovation practices, and lead dust is hazardous to children and pregnant women (the EPA). Test the paint before disturbing it, and use wet methods to limit dust.
- Asbestos: Some older joint compounds and textured ceilings contain asbestos. If you suspect it, have a certified inspector test the material before you sand or cut.
- Mold: Visible mold or a strong musty smell means moisture is present. Small areas can be cleaned, but larger growth calls for professional remediation. Fix the water source first.
Wear a fitted dust mask, safety glasses, and gloves. Keep children and pets out of the work area until dust has settled (How can homeowners protect themselves and their families from exposure to lead dust if...).
Repairing Small Holes, Dents and Cracks Step by Step
Small holes and cracks are the best place to start. The steps below work for most residential walls.
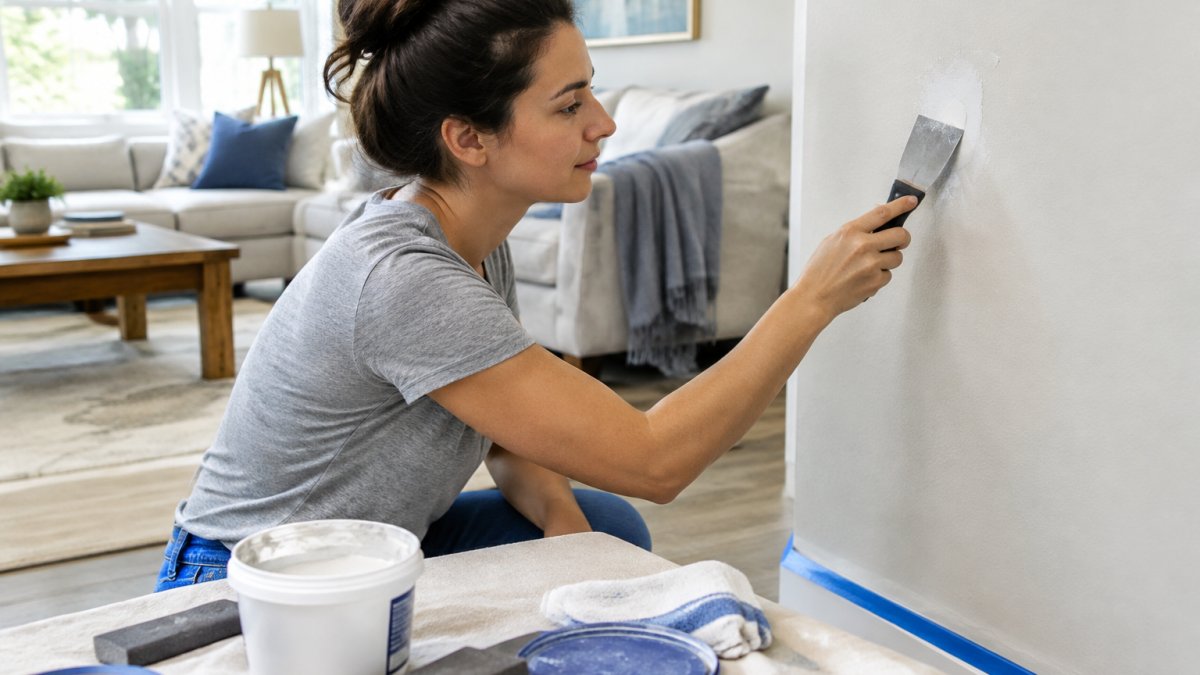
- Clean the area. Brush away loose paper and dust. Remove crumbling material with a utility knife.
- Apply the mesh patch or tape. For holes under 4 inches, press a self-adhesive mesh patch over the hole. For cracks, embed paper or mesh tape in a thin layer of compound.
- Apply the first coat. Spread compound over the patch with a 6-inch knife. Keep the layer thin and feather the edges outward.
- Let it dry. Most compound takes 12 to 24 hours to dry, depending on humidity. Lightweight compound dries faster.
- Apply a second coat. Use a 10-inch knife to widen the coat by about 2 inches on each side.
- Sand lightly. Use 120-grit paper with light pressure. Stop once the surface feels smooth.
Dents work the same way. Fill the dent with compound, let it dry, and sand it flush.
How to Fix a Hole in Drywall Bigger Than 6 Inches
Holes over 6 inches need a new piece of drywall. Cutting out the damage gives you a clean edge, a patch over ragged edges will crack. The method below works for flat-wall holes; holes near outlets, plumbing, corners, and trim need extra steps covered later in this section.
Step-by-step replacement
- Mark a square or rectangle around the damage, extending to the nearest stud or joist if possible. Use a level to keep the lines square, out-of-square cuts make the patch harder to fit and the seams harder to finish.
- Cut out the section with a drywall saw, keeping the cut inside the lines. Cut carefully around any wires or pipes behind the wall; if unsure what is behind the drywall, turn off power to the area and use a stud finder with electrical detection.
- Install backing. Screw wood strips (1x2 or 1x3 lumber) to the inside edges of the hole, or use a metal patch brace to support the new piece. Backing must be secure, a loose piece will flex and crack the finish.
- Cut a replacement piece to fit the opening. A snug fit is better than a loose one, but leave a 1/8-inch gap around the edges for tape and compound.
- Screw the new piece into the backing with drywall screws spaced about 6 inches apart. Set the screw heads just below the surface without breaking the paper.
- Tape and finish the seams using the steps described above. Tape all four sides of the patch, not just the visible seams.
When to replace rather than patch
Not every large hole should be patched. Replace the section instead of patching when:
- The drywall is soft, crumbly, or the paper face has separated from the gypsum core.
- There is visible mold or a musty smell that persists after the area dries.
- The damage spans more than one stud bay or crosses a corner or ceiling line.
Patching over compromised drywall will fail, and the failure often shows up as a crack or blister within a few months.
Holes around outlets, plumbing, corners, and trim
Location-specific complications are where most large-hole repairs go wrong:
- Outlets and switches: Turn off power at the breaker before cutting. Cut the patch to fit around the box, leaving a gap of about 1/8 inch. Use a box extender if the new drywall is thicker than the old. Do not bury the box or cover it with compound.
- Plumbing: Use a stud finder and a small inspection hole to locate pipes before cutting. If a pipe is close to the cut line, use a drywall saw with a short blade and cut slowly. Never screw backing into a wall without knowing what is behind it.
- Corners: A patch that crosses an inside or outside corner needs corner bead or tape that wraps the corner. Cut the patch to stop short of the corner, then use paper tape folded at the corner or a metal corner bead for outside corners.
Watch out: Cutting into a wall without checking for electrical, plumbing, or HVAC lines is the most common cause of a small repair turning into a major one. If unsure what is behind the drywall, stop and have the area inspected before cutting.
Matching thickness and texture
Drywall comes in thicknesses of 1/4, 3/8, 1/2, and 5/8 inch. Measure the existing board at the cut edge, a patch of the wrong thickness will sit proud or recessed and show under paint. For textured walls, match the texture after taping and before priming, as described in the finishing section.
How to Patch a Large Hole in Drywall With Mesh
For holes between 4 and 6 inches, a mesh patch kit offers a quick fix without cutting into framing. The mesh gives the compound something to grip.
Press the mesh patch over the hole, making sure the adhesive backing covers the edges.
Watch out: Mesh patches are not strong enough for holes that sit under load, such as those near door handles or shelves.
Mudding, Sanding and Priming: Finishing for a Paint-Ready Wall
The finish coats determine whether the repair disappears into the wall or shows as a visible scar under paint. Finishing usually takes longer than the patch itself, and rushing it is the most common reason a repair fails a side-by-side comparison with the surrounding wall.
Coat-by-coat planning
Plan on three coats of joint compound for most repairs, with each coat wider than the last:
- First coat (fill coat): Embed tape or mesh and fill the joint or patch. Keep it thin, about 1/8 inch over tape, and press out air bubbles. Use a 6-inch knife.
- Second coat (build coat): Widen the coverage by about 2 inches on each side. Use a 10-inch knife and feather the edges to nothing.
- Third coat (finish coat): Widen again by about 2 inches per side. Use a 12-inch knife or a trowel for a broad, flat feather. This coat should be nearly translucent at the edges.
Lightweight compound shrinks less and sands easier, which makes it a good choice for the finish coat. All-purpose compound is stronger for the fill coat. Do not mix brands or types within a single repair without checking compatibility, some setting compounds and drying compounds behave differently under sanding.
Drying conditions and timing
Joint compound dries by evaporation, not chemical set (unless you use a setting-type compound). Expect 12 to 24 hours per coat at room temperature and moderate humidity.
Watch out: Do not apply the next coat over compound that is still cool or damp to the touch. Trapped moisture under a skin of dry compound causes pinholes, blisters, and poor adhesion that only show up after painting.
Sanding and quality checks
Sand between coats with 120-grit paper on a sanding block or pole sander. Use light pressure and keep the block flat, concentrated finger pressure digs grooves that show under paint. After the final coat, sand, then wipe the surface with a damp sponge or tack cloth to remove dust.
Run these checks before priming:
- Ridges and dips: Run your hand across the repair with your eyes closed. Ridges and dips show up better by touch than by eye.
- Pinholes: Small holes from air bubbles or incomplete filling will show as dimples under paint. Fill them with a skim coat of compound and re-sand.
- Visible seams: Tape edges that are not fully feathered will show as lines. Re-feather with a wider knife.
Priming and paint selection
Joint compound is more porous than the paper face of drywall, so it absorbs paint differently.
For the topcoat, match the existing sheen and color. Flat and matte paints hide repairs best; higher sheens (satin, semi-gloss) reflect light and reveal imperfections.
If the wall has a textured finish, match the texture before priming. Use a sponge, roller, or spray texture to replicate the pattern, then prime and paint.
Scheduling Your Repair: Next Steps With Dorris Construction Management
Small repairs are a good DIY project, but larger jobs, water damage, and older homes with lead or asbestos concerns often need a licensed professional. If your repair is bigger than you want to tackle, or you suspect a moisture problem, book a drywall repair service in Miami to get started. You can also read how professional drywall installation and finishing is handled in Doral before you decide. Before you sign anything, check how to verify a licensed contractor so you know who is doing the work.
Frequently Asked Questions
Can you provide a guide for repairing drywall?
Yes. Start by assessing the damage and checking for moisture. Small holes can be filled with a lightweight spackle or a setting-type compound, while cracks need tape and joint compound. Holes larger than about 6 inches need a backing piece or mesh patch. Apply thin coats, let each one dry fully, sand lightly between coats, then prime and paint. Work in this order and the repair will blend with the surrounding wall. If the drywall is soft, stained or has active leaks, the moisture source must be fixed first, and a professional assessment can help determine whether the section needs full replacement.
What is the correct order for finishing drywall?
Finishing drywall follows a sequence: apply tape over joints or cracks, embed it in a thin coat of drywall repair mud, then add a second coat and a third wider coat, feathering the edges further out each time. Let each coat dry completely before sanding. Sand lightly with a fine grit, remove dust with a damp sponge, and prime before painting. Skipping primer often shows flashing, where the patch looks dull compared with the wall around it.
How many coats of drywall mud should you apply?
Most repairs need three coats of drywall mud. The first coat fills the defect and embeds tape, the second coat smooths the surface and fills low spots, and a thin third coat feathers the edges for a seamless finish. Small dents may need only two coats, while large patches may need an extra coat. Drying time depends on humidity and thickness, so plan on several hours or overnight between coats. Sand lightly and check the surface with a raking light before priming.
What are two common mistakes made during drywalling?
The two most common mistakes are applying mud too thick and sanding too early or too hard. Thick coats crack and shrink, creating a ridge that shows through paint. Sanding before the compound is fully dry clogs the paper and gouges the surface, and aggressive sanding can expose the paper facing or the mesh. Using thin coats, allowing full drying time, and sanding lightly with a fine grit prevent both problems and keep the repair paint-ready.